New toy time! The Fujifilm 80mm macro lens: first impressions
Since its release in November 2017, I’ve been lusting after the Fujifilm 80mm macro lens. Touted as Fuji’s first ‘real’ macro lens (I explain why their other macro lens isn’t really considered a ‘proper’ macro below), it’s had some amazing reviews, and I’d been suffering lens envy until I was at last able to get mine in April 2018.
What is a macro lens?
You’re probably aware of macro photography as a way of photographing things in great detail; typically, you might think of insects or flowers. But what, exactly, is a macro lens? What is it about the lens that allows you to photograph such tiny things?
There’s two particular things about a macro lens that makes it macro:
- The minimum focus distance
- The image ratio
Minimum focus distance
The minimum focus distance of a lens is just what it sounds like: how close to the lens you can focus. Macro lenses tend to be able to focus much closer than their non-macro counterparts.
Take, for instance, the Nikon AF-S NIKKOR 85mm f/1.4G and the Canon EF 85mm f/1.8 USM (for the sake of choosing two lenses with a similar focal length to mine). They both have a minimum focus distance of 85cm, whereas the Fuji macro has a minimum of 25cm – about 11cm from the front of the lens. (Minimum focus distance isn’t measured from the front of the lens; it’s measured from the sensor . Mirrorless and DSLR cameras usually have a Φ symbol on the body to show you where the minimum focus distance is measured from.)
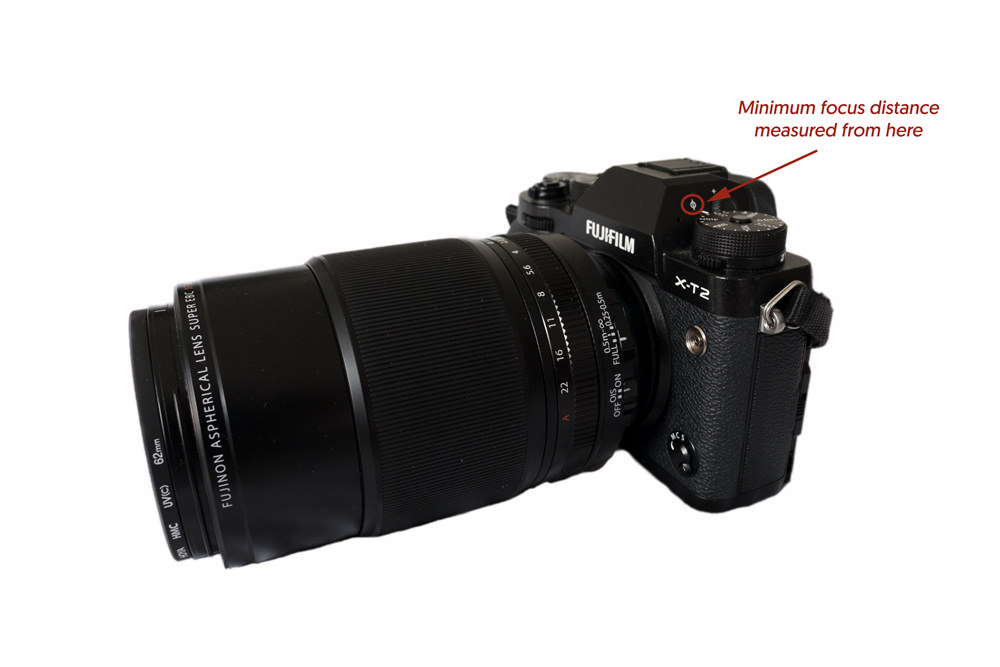
Image ratio
The image ratio is how big the subject is on the camera’s sensor when photographing it at minimum focus distance. Macro lenses should have a ratio of at least 1:1, meaning that your subject will be life-size on the sensor at minimum focus distance. This may not sound like much, but consider this: if you photograph a postage stamp at the lens’s minimum focus distance, at a 1:1 ratio, the stamp will be life-size on the sensor. Considering I can print images from my Fujifilm X-T2 up a good few feet tall, imagine the detail you’re then going to see at that size.
Some macro lenses go beyond this and can have a ratio of even as high as 5:1, meaning that whatever you photograph at minimum focus distance will be five times life-size. Those are the kind of lenses you use to photograph the eyes on a fly.
The Fujifilm 80mm macro has a ratio of 1:1, which is quite enough for what I want to do. As I said in the intro, it’s considered Fuji’s first true macro lens. Although Fuji’s had a 60mm macro lens in its line-up for a while, it only has a ratio of 0.5:1, so the subject is photographed at half its true size. For this reason, it’s never really been considered a ‘proper’ macro lens.
Why the upgrade?
‘But you already have a macro lens!’, I hear you cry. ‘Why spend out a bunch on something you already have?’
Good point.
The macro lens I’ve been using so far has got me some great pictures, but it has its limitations. I’ve been using the Zeiss Touit 50mm macro lens, which has done me well for my artefact photography. However, because it’s a shorter focal length, I have to be a lot closer to the artefacts I’m photographing (confession time: I have huge anxieties about knocking artefacts over and damaging them!). Sometimes, I’m so close, I could barely fit a finger between the end of the lens and the artefact. With the new lens, I’m that bit further away from the artefact and from my nightmare disaster 🙂
Also:
- I can get more detail with the new lens; when I photographed a small Horus amulet (42mm tall) with the Zeiss, I could photograph the whole thing and get good detail. With the Fuji, I could close in on just the top half and still get great detail (more on that below)
- The Fuji has optical image stabilisation. Optical image stabilisation is suspension inside the lens which reduces blur created by hand shake at slower shutter speeds. This means it’ll be a better lens to take out-and-about in low-light situations
- I also wanted a longer lens in my collection for general photography. The Fuji is 80mm, but when you add in the crop-factor of the lens, it’s actually the equivalent of around 120mm. It’ll be a lot of fun for taking out and doing some street photography and for doing some portrait work
Field test in the World Museum
So, the first thing I did after buying the lens was to take it down the road to the World Museum for a field test. (Well, OK, it was actually the second thing I did. The girls and I went for a quick hot chocolate first in the gorgeous Rococo café a few doors down from Wilkinsons, where I got the lens, before heading on down to the museum.)
I couldn’t wait to see what it was capable of!
I was really quite excited to find that, because of the optical image stabilisation (OIS), I could – just about – shoot at 1/30 of a second. Wow! Without the OIS, I’d be looking at around 1/80 of a second. This would result in much darker images, and me having to crank up the ISO. My images would be much grainier and just not as good.
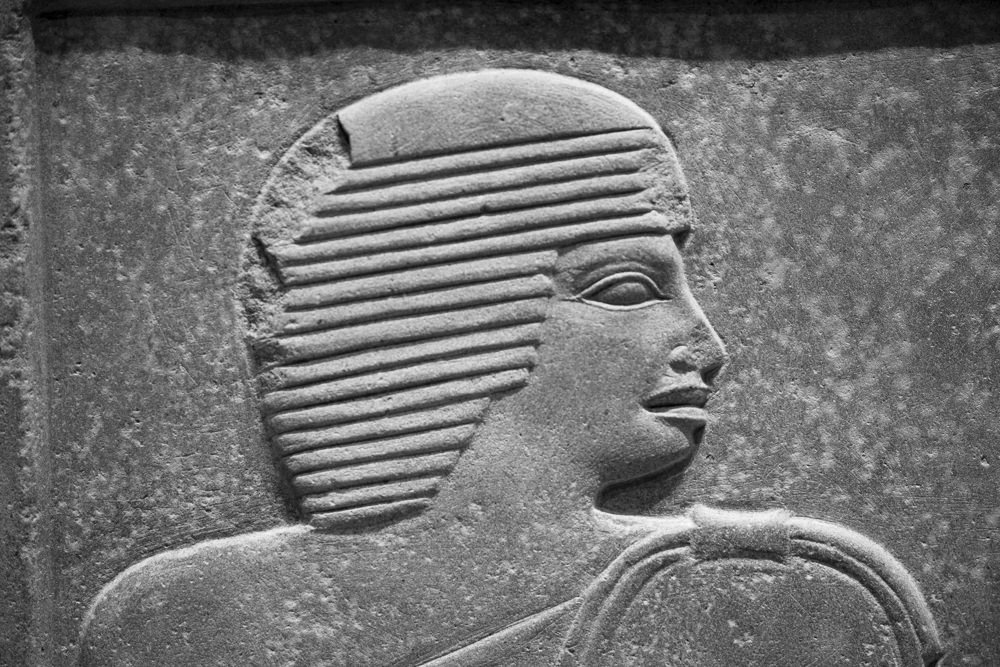
It was a little strange at first working with the longer focal length; I usually take my 16mm to the museum, which is a much wider-angle. I had to stand much further back from display cases than I was used to, but I could get some amazing close-up shots of objects I’d struggled to get good images of previously (you just can’t get close enough sometimes because of the space between the object and the glass case).
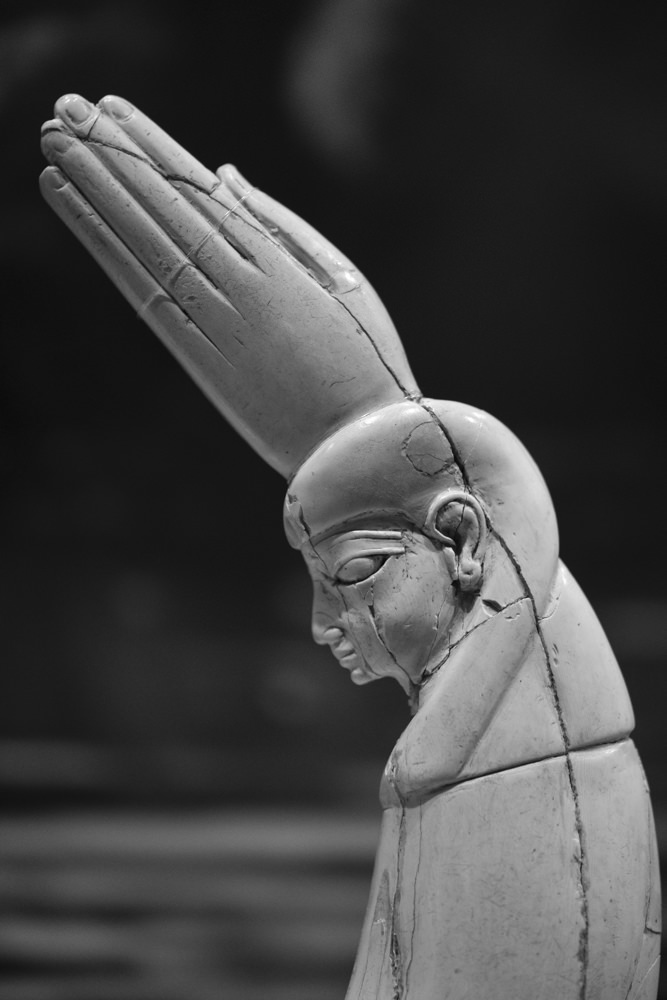
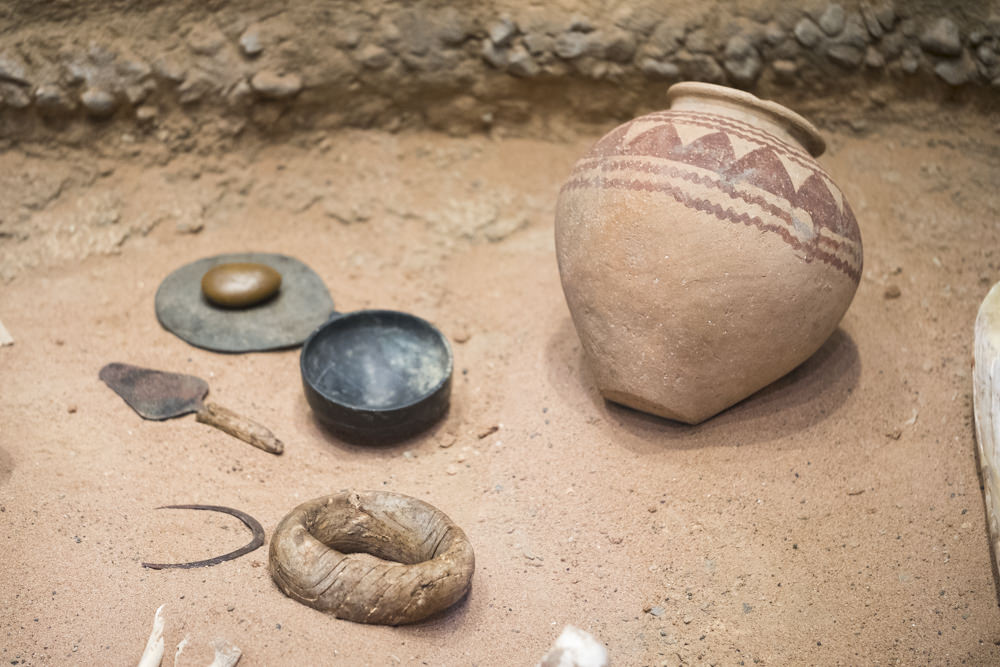
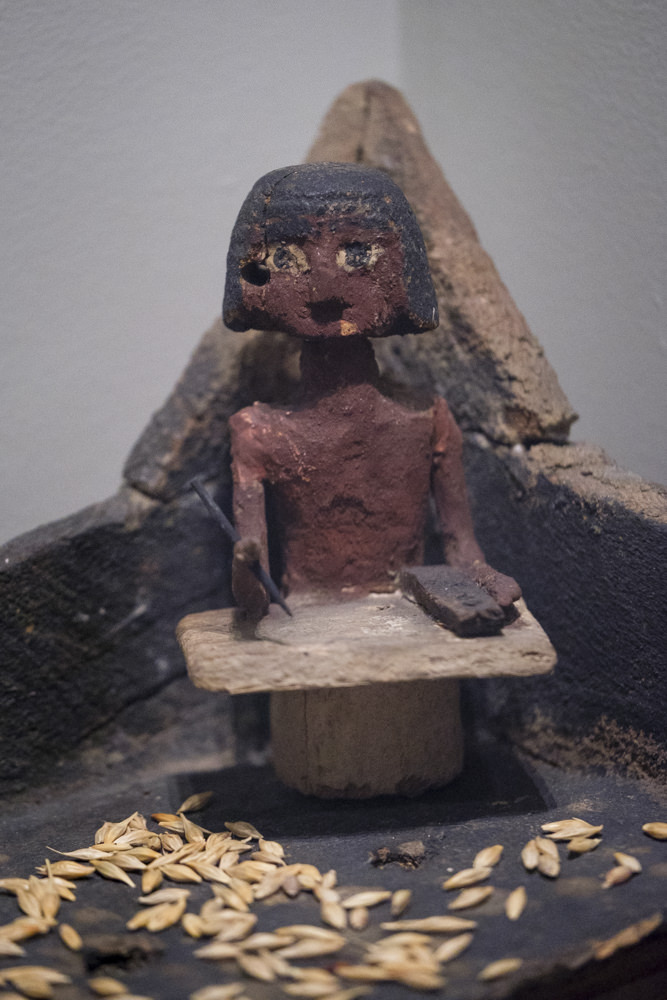
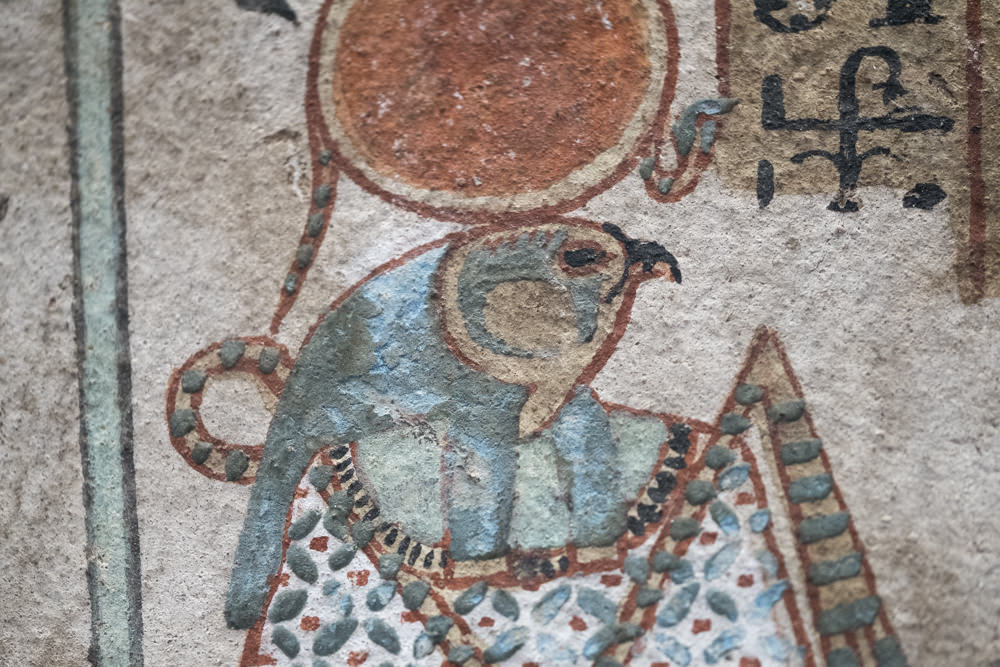
Re-Horakhty on a small stela. The focus is a little off at the sides because I didn’t have the camera quite straight on, but the size of this area is only a few centimetres big. See the detail in the flaking paint and the brush strokes of the hieroglyphs above him
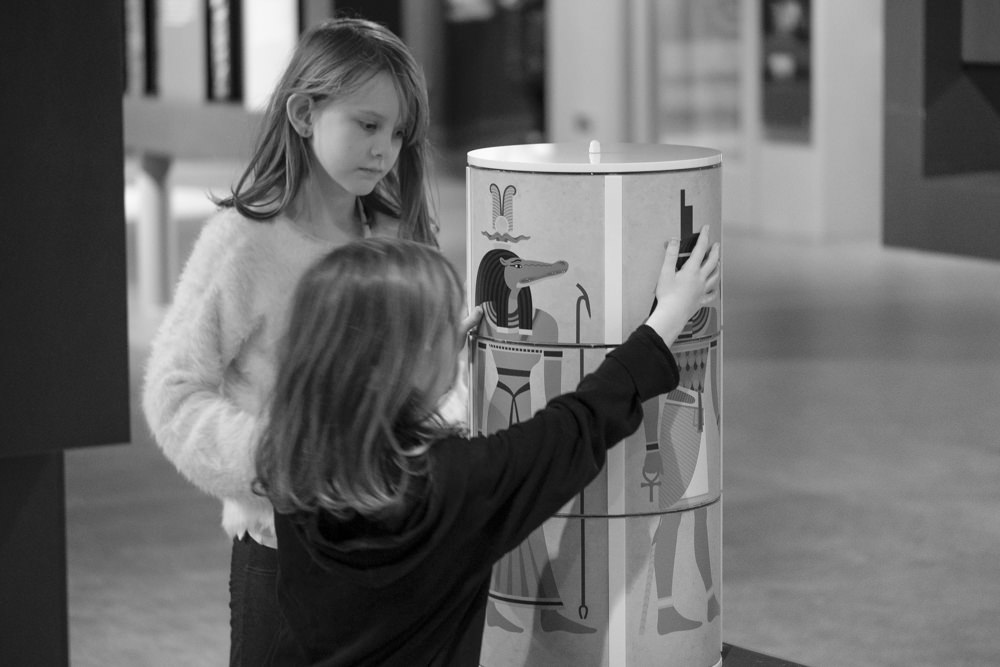
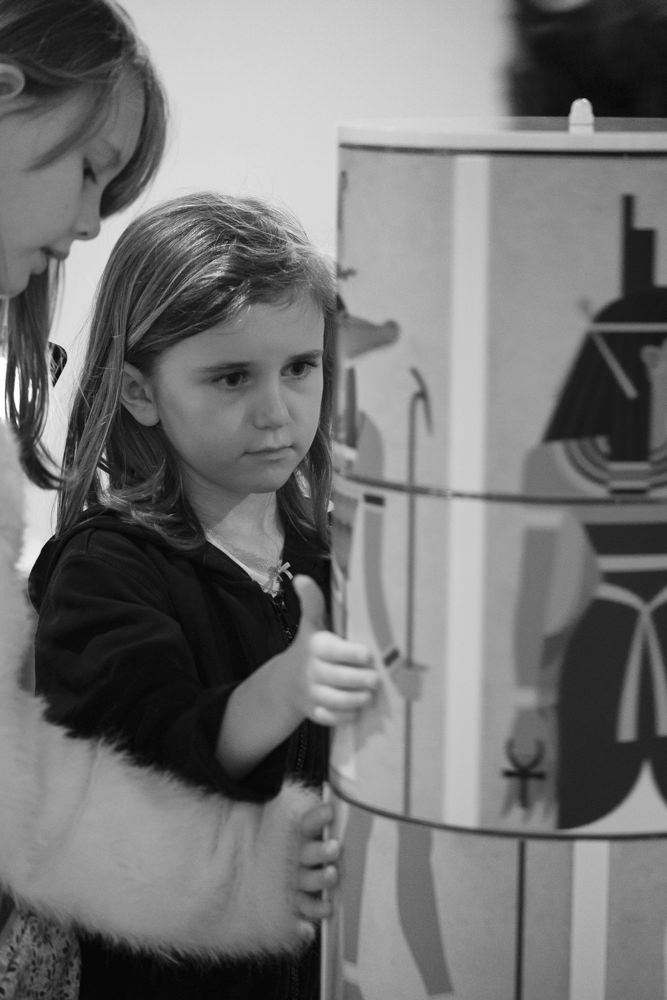
I was also able to stand back and get a few photos of the girls in the gallery (they love the World Museum; it’s one of their favourite days out). Longer lenses are always recommended for portrait photography, because they’re flattering (wide-angle lenses can distort your subject – think of the extreme version, the fish-eye lens – so you have to be careful when photographing people close up).
The longer lens allowed me to hang back and let them get on with what they were doing.
There are, of course, advantages to having a wider-angle lens, and fun you can have with them in a gallery. That, however, is for another post.
I did have a few slip-ups, as you’d expect when trying something for the first time. Some of the images I brought home had a little blur in them from hand shake, and a few didn’t quite hit the mark with focus. But, as is the way with any new toy, you need to get some practice in and learn its (and your) strengths and limitations.
The only other downside is that it’s a heavier lens than my others, making it more tiring to carry around.
All-in-all, however, it was a lot of fun, and I think the lens will give me a whole new dimension to visits to museums, for snapping both objects and people.
First session in the Garstang
The following week, I took my new lens for its first session at the Garstang.
As well as getting on with photographing some more Predynastic ceramics, I retrieved the small Horus amulet I’ve photographed previously to do a comparison with my old macro lens.
Firstly, I photographed the whole amulet. I didn’t quite manage to completely replicate the position and lighting, but it’s near enough:
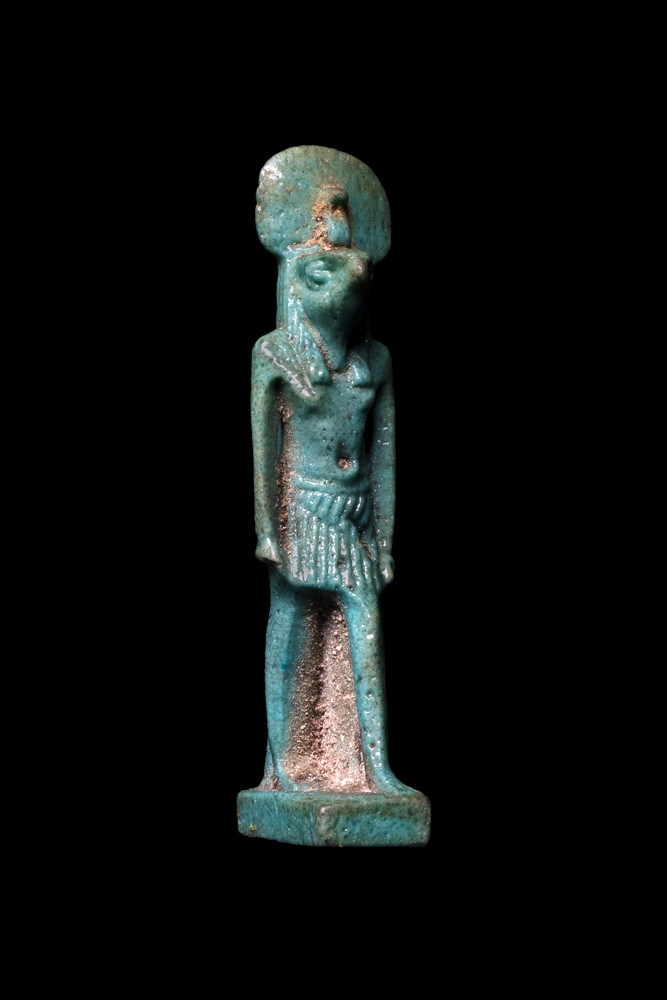

To be honest, the newer image (on the right) is a little bleached out, because I over-exposed it a little. Again, rookie mistake from first time using it in these conditions. I might do it again with a lower exposure. However, I’m still happy with the result and the potential this lens has.
Much to my joy, I got in so close with the new lens, I got just the top half. (Remember, the amulet’s 42mm tall, so this section is probably about 25mm.) It’s amazing to see the detail coming out here in such a tiny piece.

FYI, the longer your lens, the shallower your depth of field (how much of the photo’s in focus). This means that focus stacking with the longer lens requires more photos to get the whole thing in focus. To give you exact figures, I needed twenty photos to get the whole of Horus using the Zeiss 50mm lens, and thirty-one using the Fujifilm 80mm lens. That’s half as much again. So my hard-drive will be filling up a little quicker. Ouch!
It took sixty-six photos to get the full photo stack for the final image. That’s because I’m closer to the amulet again, so my depth of field is further reduced.
I’m definitely excited by the results and can’t wait to get it back in front of the artefacts.
The future
As I said, I’m excited by what I’ve got so far from this new lens. With its image stabilisation and longer length, it’s a great addition to my gear for taking out-and-about. As for the artefact photography, it’s going to be a great help with the work I’m already doing; it’s sharper than the Zeiss, and I don’t have to get so close to the artefacts to photograph them. It’ll also be the power tool in my arsenal for my Tiny Egypt project, exploring the diminutive world of amulets and other often-overlooked details.

Thank you for taking the time to read this article. If you’ve enjoyed it and would like to support me, you can like/comment, share it on your favourite social media channel, or forward it to a friend.
If you’d like to receive future articles directly to your inbox you can sign up using the link below:
If you feel able to support me financially, you can:
- become a patron of my photography by subscribing for £3.50 a month or £35.00 a year
- gift a subscription to a friend or family member
- or you can tip me by buying me a virtual hot chocolate (I’m not a coffee drinker, but load a hot chocolate with cream and marshmallows, and you’ll make me a happy bunny …)
With gratitude and love,
Julia
Unless otherwise credited, all photos in this post are © Julia Thorne. If you’d like to use any of my photos in a lecture, presentation or blog post, please don’t just take them; drop me an email via my contact page. If you share them on social media, please link back to this site or to one of my social media accounts. Thanks!


