Photography in museums: a few tips and tricks
I’ve had a lot of fun over the last few years exploring galleries of Egyptian collections with my camera. A lot of it has been hit-and-miss, to say the least, because of glass reflections, low light and learning how to wield a camera. But I’ve learnt a few things about photographing artefacts in museum galleries. So, if you’re just starting out with a camera, or you’d like to improve your photography skills for museum visits, I’m sharing a few tips and tricks I’ve picked up over the years. If your photography’s up to scratch, or you don’t take photos in museums, then here’s a brief post with some pretty pictures to enjoy.
The photos
At the end of April 2017, the World Museum in Liverpool unveiled its refurbished and expanded Egyptian galleries. Naturally, I couldn’t wait to go for an explore with my camera.
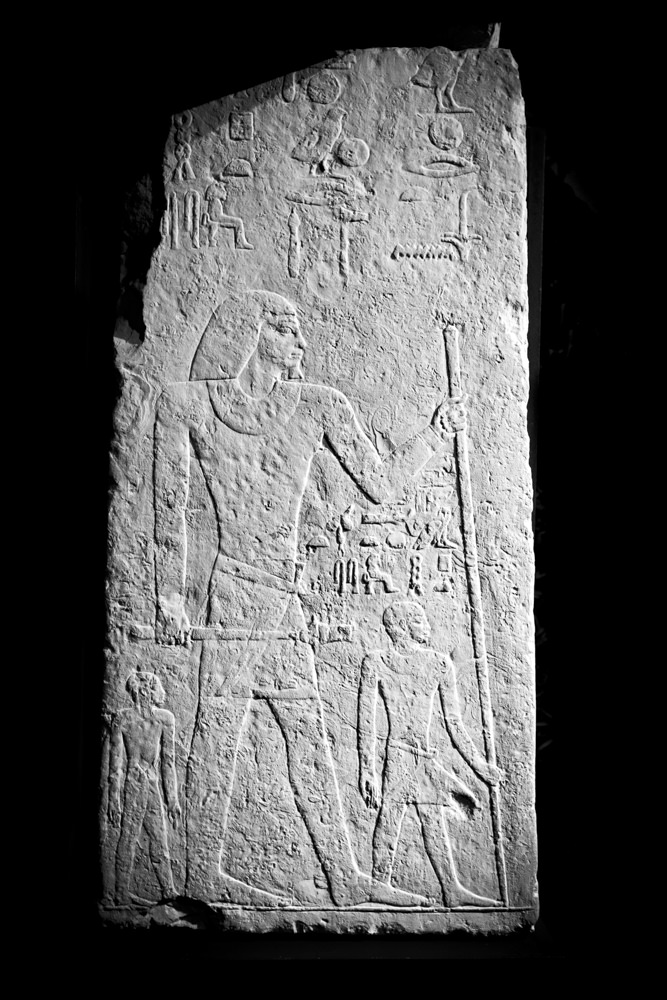
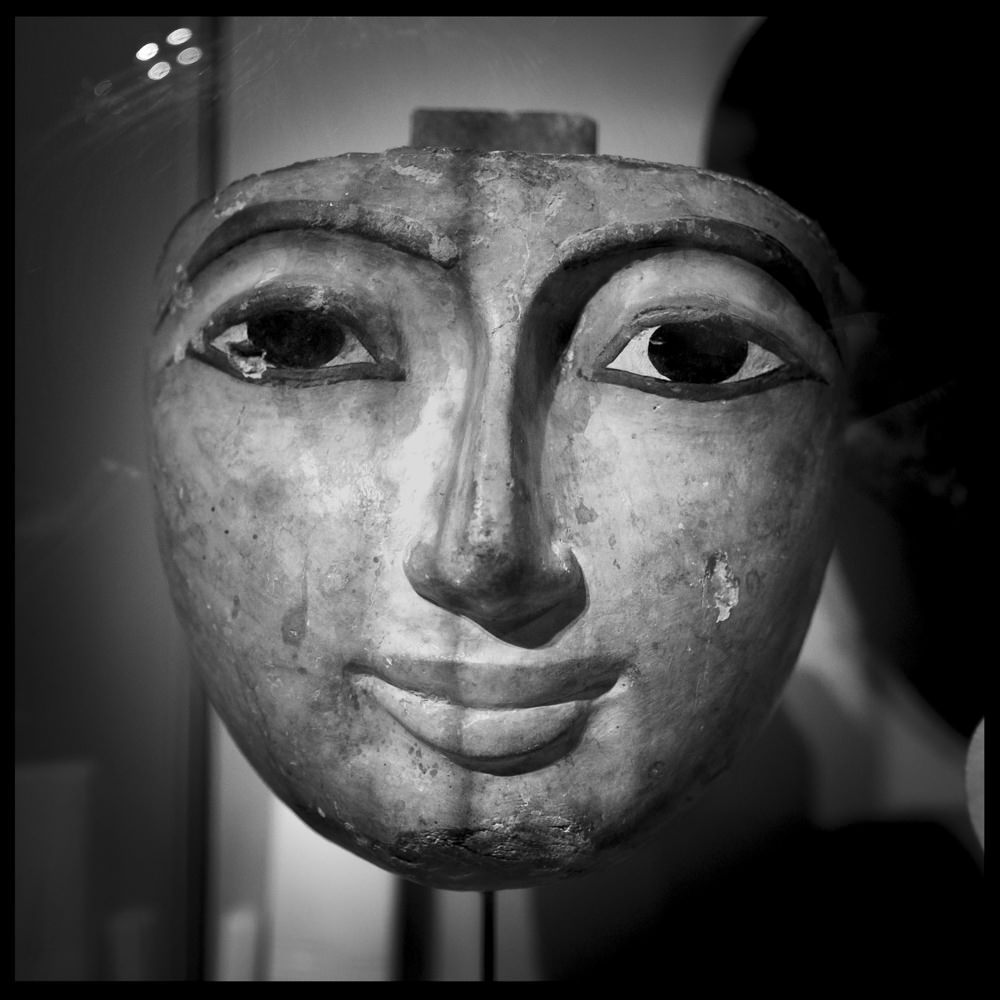
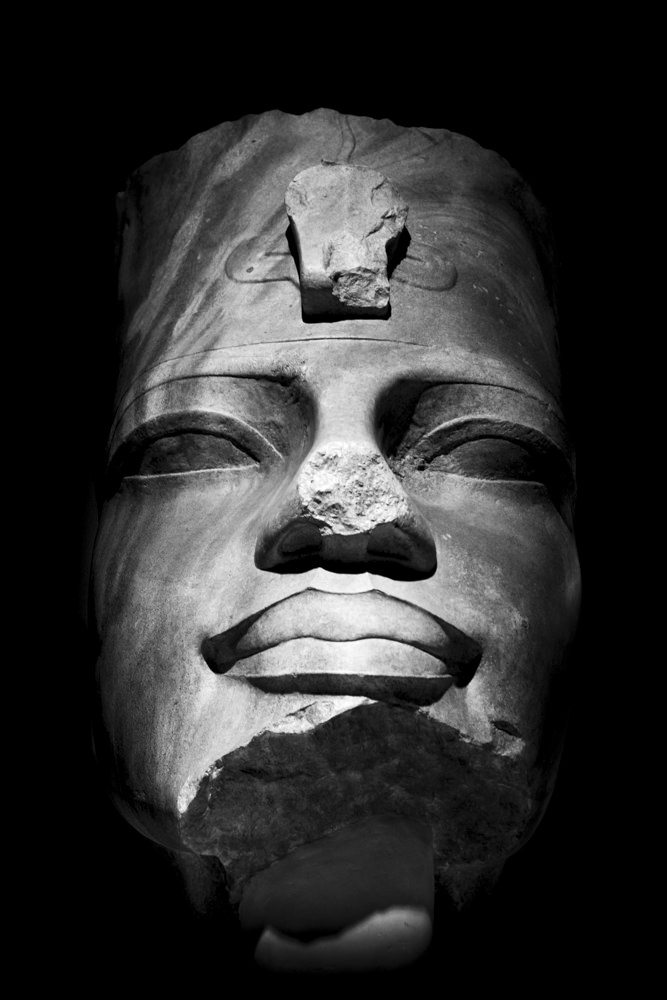
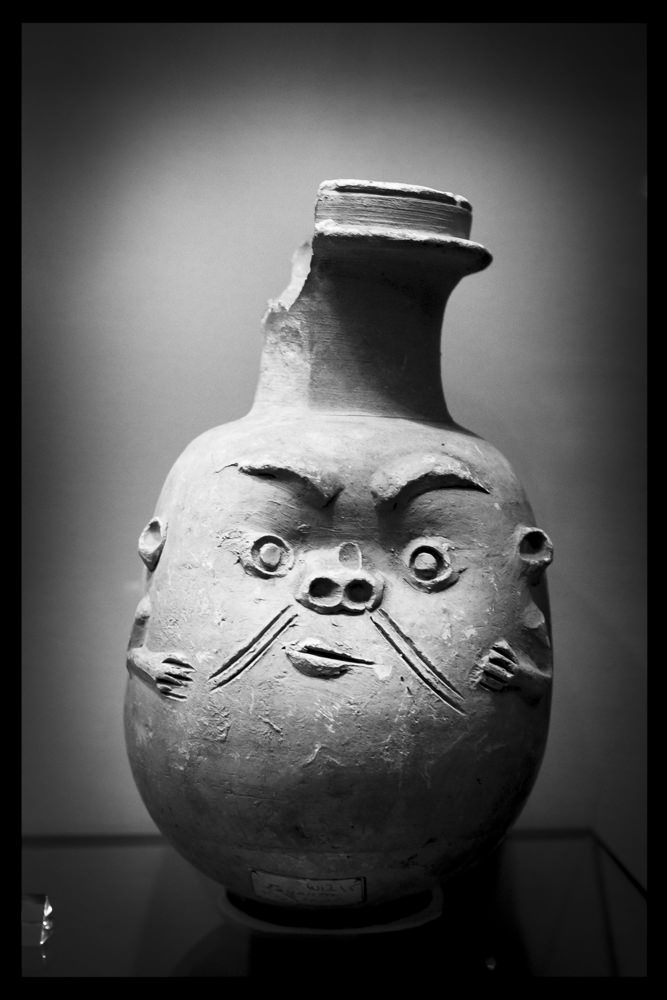
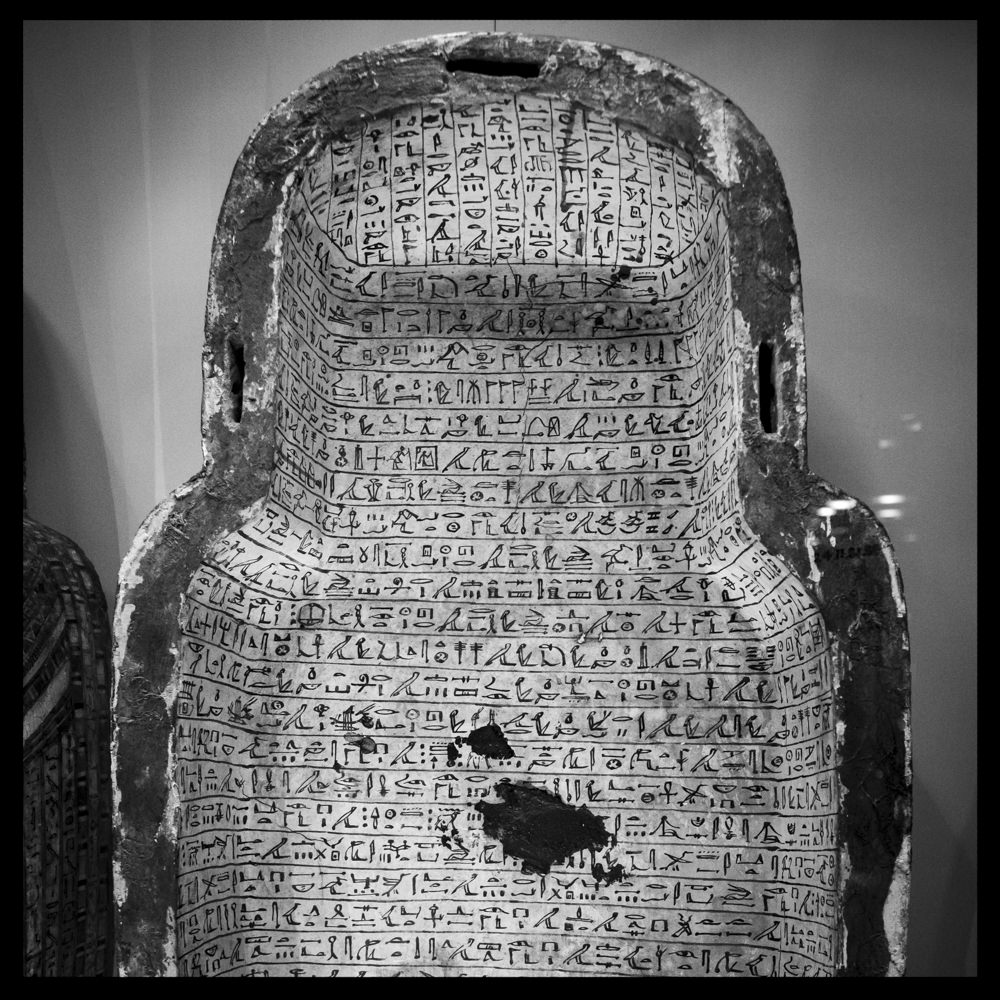
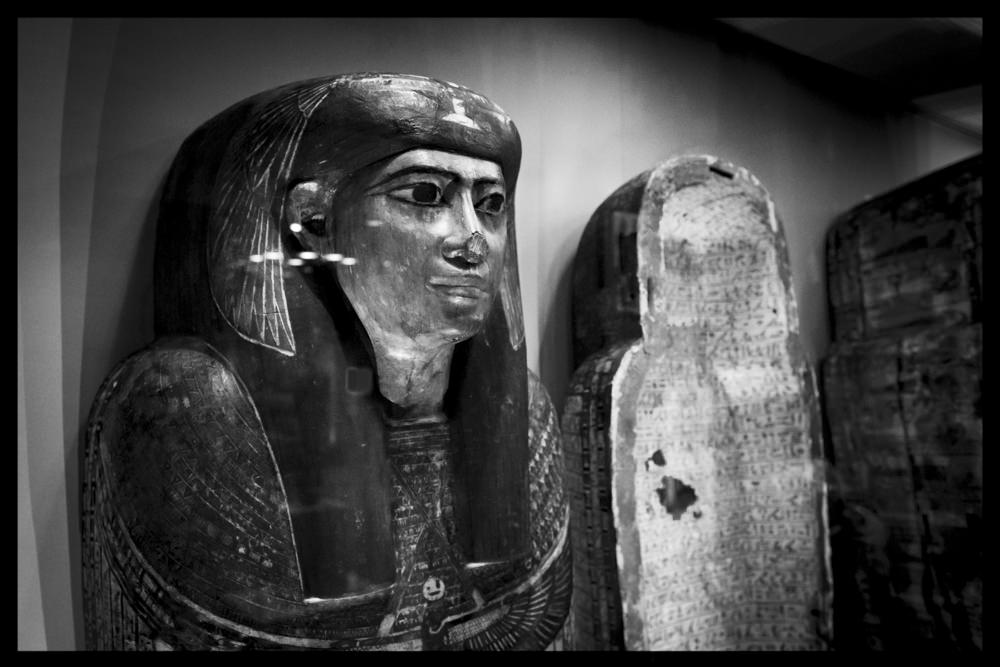
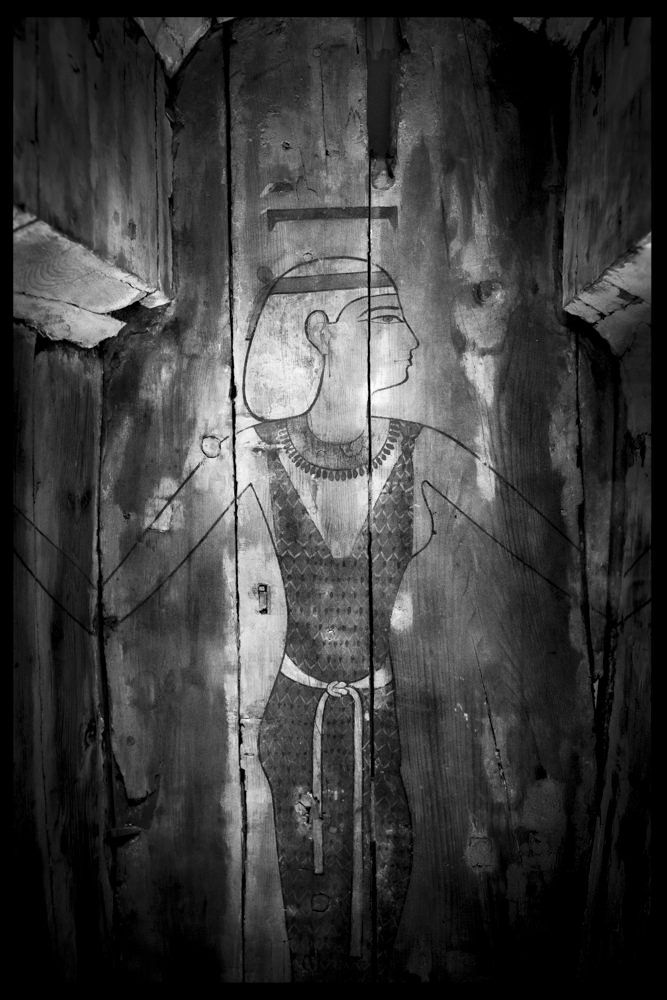
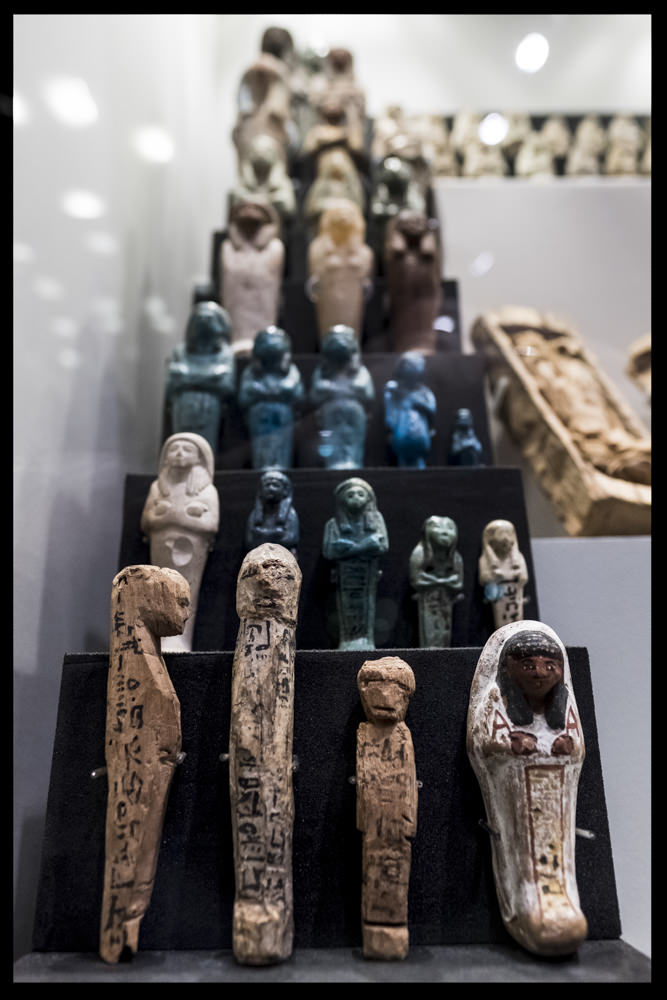
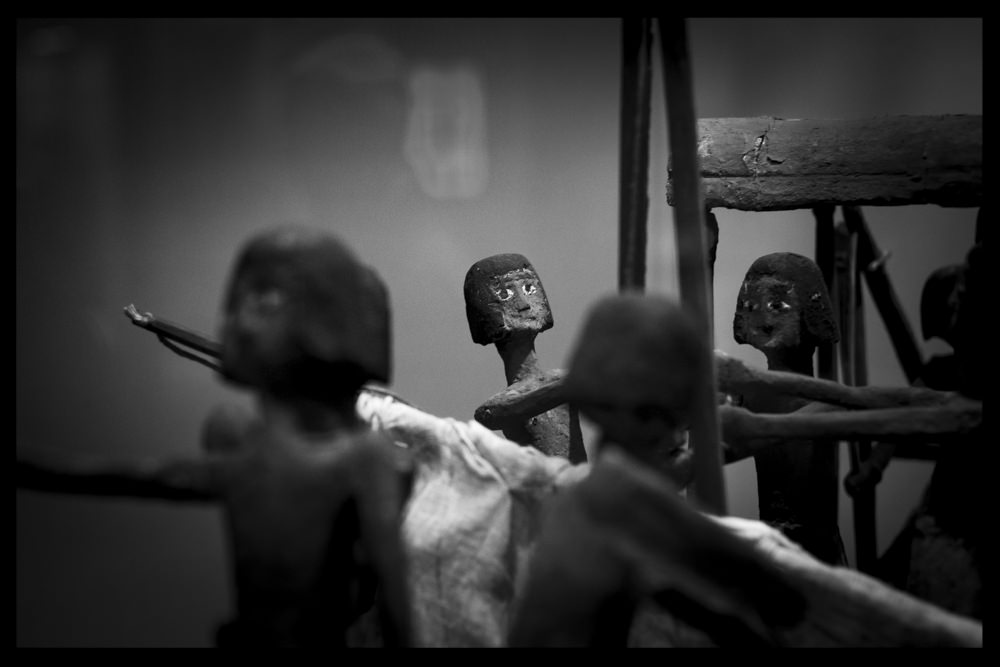
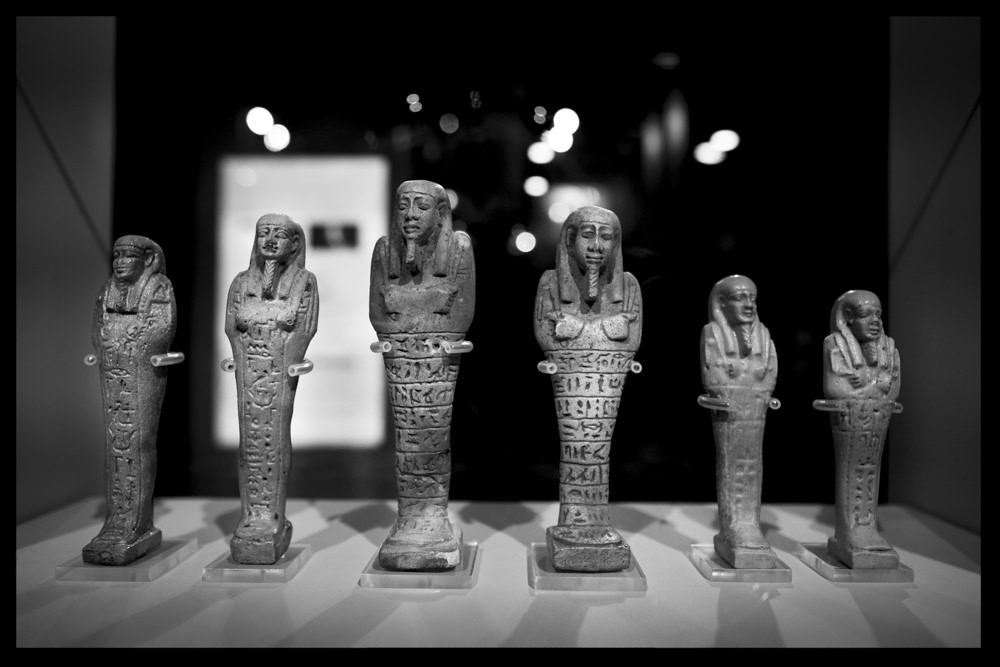
Below are a few of my favourites shots of artefacts from my visit. They were taken on the fly with just my camera and a couple of lenses. No tripod, no extra lighting and no special access arrangements. Please have a wander through them, and if you like what you see and would like a few pointers, keep reading on after the photos.
Tips and tricks for museum photography
So, now you’ve had a browse through the photos, here’s a quick look at some of my methods and thought processes. In a couple of the sections, I’ve used a few photography terms; for those of you not familiar with these words, I’ve included a brief explanation of them. What I haven’t done is suggest exact camera settings. If demand’s high enough, I’ll cover this another time. I also haven’t covered how to change the settings on your camera. Every camera’s different, so go and check you manual or have a look online; there are countless tutorials out there.
1. The first rule of museum photography is …
… don’t break the rules.
Always check the photography policy of the museum you’re visiting; I cannot impress this upon you enough. The last thing you want is to find yourself being asked to leave a museum for breaking the rules. Not only will it spoil your day, it’s also grossly disrespectful to the museum and other visitors.
In my experience, UK museums usually allow photography as long as you don’t use a flash or tripod and it’s for personal use. If you’re photographing for commercial reasons (this includes selling prints online), you’ll need to contact the museum in advance and most likely pay for a commercial photography licence.
Some museums do have greater restrictions; I’ve been to special exhibitions at the British Museum, for example, where photography was banned outright.
If you’re not sure what the museum’s policy is, check the website beforehand. If you can’t find anything about photography, phone them, or ask at the front desk when you first go in.
Finally, don’t be an ignorant visitor. Sure, we all want to get a few souvenir photos of our visit, but other visitors have as much right as you do to be there and enjoy the exhibits. Don’t spend ages hogging the space in front of a display case with your camera, and try to remain aware of your surroundings. You don’t want to step backwards with your eye up to the camera and tread on a small child or trip someone over (or, even, step backwards into a display case or artefact. Argh!). And be sure to thank people who wait for you to finish taking your photo.
Now that we’ve got the school-teacher talk out of the way, here’s the fun stuff.
In the gallery
If you want to have a good session with your camera, get to the museum as early as you can. Galleries are often at their quietest first thing in the morning, so you’ll have more space and won’t be at as much risk of having people walking through your shot. Unless, that is, you want to do a bit of documentary, street-style photography, which can be a lot of fun. I took a few documentary photos of visitors seeing the new World Museum galleries from or the first time. You can see these photos over on my other website.
When you’re photographing artefacts, have a play around with the composition of your photos. Remember:
- You don’t always have to photograph the whole artefact. The ancient Egyptians loved to fill every nook and cranny with hieroglyphs and images. Coffins, in particular, can be overwhelmingly busy. Instead, pick out details or sections which catch your eye. Take several photos of the same object, focusing on a different detail in each shot.
- Change your camera angle. Don’t just photograph from straight on. Move to the side. Crouch down and point the camera up. Hold your camera (carefully) higher up and shoot downwards.
- Use your aperture for artistic effect. Read this post for a full explanation of what aperture and depth-of-field are. In a nutshell, however, the aperture is an opening in your lens like the pupil in your eye, which you can make narrower or wider. A wide-open aperture (with a low f/stop number) has a shallow depth-of-field. This means that a small part of the photo only will be in focus (think of when you see a portrait of a person and the background is blurry). A narrower aperture (high f-stop number) will have more of the photo in focus. Have a play with making parts of your photo fall out of focus.
- Your focal length (how zoomed in or out you are) can change the ‘look’ of a photo. A longer focal length (zoomed in) ‘compresses’ the background – it makes everything feel closer together. A wider-angle lens has the opposite effect. If you go for an ultra-wide, you get that distorted fish-eye look, which you could really have some fun with.
3. Getting the best out of your equipment
Museum galleries often have a lot of low-light areas, punctuated by bright spotlights on artefacts. This makes for a wonderful atmosphere, but can be tricky to photograph. Although I’m not going to go into great detail about camera settings, here’s a few things to bear in mind when shooting in low light:
- If you’re using a mobile phone, you’re probably going to struggle to get good quality images in low light. This is because, no matter how high your pixel count is, phones have very small sensors (the digital equivalent of camera film). A small sensor’s never going to pick up as much light, and therefore detail, as the larger sensors in DSLRs and other dedicated cameras. The larger the sensor, the better the camera will cope with low light.
- Take as much control of your camera as you can: have as slow a shutter speed (how long the camera spends taking the photo) as you can manage before you start getting camera shake; set your aperture wide (i.e. to a low number); crank up your ISO a bit (cameras these days can take great shots at ISO 1600, or even 3200. Any camera more than a couple of years old will need to be kept at a lower ISO).
- Steady the camera by standing with your feet apart and clamp your arms into your sides. This will help reduce camera shake if you’re having to use a longer shutter speed. If there’s a handy wall, you could lean your arm against it to steady the camera (please don’t use display cases or artefacts to do this!).
- Consider your focal length. Longer lenses exaggerate camera shake. Wide-angles do the opposite, so you can get away with longer shutter speeds. I took most of these photos with a 24 mm (wide) lens, and a few with a 52 mm (mid-length) lens.
- If you can, take your pictures in RAW format, rather than JPG. RAW files are like digital negatives and contain a lot more data than JPGs. It’s easier to correct dodgy colours and recover details from the shadows with RAW files.
- Take care with glass reflections. If you don’t want an important part of your photo to be ruined by reflections, you may need to change your camera angle. If your camera will accommodate a filter on the lens, you can use a polarising filter to reduce the reflections. Bear in mind, though, that polarising filters only work if the camera’s at an angle to the glass. And, because they’re tinted filters, your exposure will be darker, so you’ll need to adjust your camera settings accordingly.
4. Processing your photos
If you’ve shot your photos in RAW format, you will need to process them, even if it’s just to save them out as JPGs to share online. If you’ve shot JPGs, you might want to brighten or darken them, put filter effects on, convert them to black and white, or whatever else takes your fancy.
For processing JPGs, there are lots of apps out there that you can play with. If you have RAW files, you’ll need software that can deal with the format. Photoshop, Lightroom and Capture One are some of the better-known options. If you don’t want to fork out megabucks for something like Photoshop, or you don’t have a desktop computer, there are all sorts of free apps out there.
The ‘look’ you give to your photos is a very personal thing, and I won’t tell you what you should or shouldn’t be doing.
However, if you’re wondering about my image processing, here’s a few thoughts:
- Black and white is often my first choice: it’s atmospheric, timeless and removes the distraction of colours to bring focus to the content of the image. It can also cover a multitude of sins, including minimising reflections. If you look through my photos above, some of them do have reflections, but they don’t catch your eye too much. The photo of Nut in the coffin had some horrible, purple reflections down one side, but with a few Lightroom adjustments and a conversion to monochrome, the reflection’s virtually disappeared.
- Don’t be afraid to lose some detail to the shadows. You can bring focus to the most important part of the photo by reducing detail in other parts. It can also give the photo a lovely atmospheric, moody look.
- I’ll crop photos to get the composition correct, but I won’t ever ‘Photoshop’ bits out of a photo. That’s the documentary photographer in me, I’m afraid.
- I, personally, don’t like the look of exaggerated HDR, over-sharpened or over-saturated images. I think these effects can take away from the actual content of the photo. But, as I’ve already said, that’s my personal taste and I wouldn’t tell you to change how you process your photos if you’re happy with the way they look.
Once you’ve got your photos looking just right and you’re sharing them online, tag the museum in your post, if you can. Museums love it when you share pictures of their exhibits and will often reshare your photo.
For those of you who’ve been looking to improve your museum photography skills, I hope these tips and tricks will see you better armed for your next trip. If you’d like a more in-depth piece about specific camera settings or image processing, or if you have any questions or tips of your own you’d like to share, shout out in the comments section below.
Update 19 July 2017: I got the following tip from John on Facebook:
It helps against reflection to wear dark clothes (a tip from Heidi Kontkanen).
Not something that’s ever occurred to me, but surely worth a try.

Thank you for taking the time to read this article. If you’ve enjoyed it and would like to support me, you can like/comment, share it on your favourite social media channel, or forward it to a friend.
If you’d like to receive future articles directly to your inbox you can sign up using the link below:
If you feel able to support me financially, you can:
- become a patron of my photography by subscribing for £3.50 a month or £35.00 a year
- gift a subscription to a friend or family member
- or you can tip me by buying me a virtual hot chocolate (I’m not a coffee drinker, but load a hot chocolate with cream and marshmallows, and you’ll make me a happy bunny …)
With gratitude and love,
Julia
Unless otherwise credited, all photos in this post are © Julia Thorne. If you’d like to use any of my photos in a lecture, presentation or blog post, please don’t just take them; drop me an email via my contact page. If you share them on social media, please link back to this site or to one of my social media accounts. Thanks!


[…] light, so you can widen the aperture on your camera to let in more light – great for when you’re in low light situations. And vice […]
[…] on down with my camera. I got a fantastic set of photos from my visit, including the ones I used in my post on improving your museum photography. My favourite photo from the morning, however, was one of my documentary photos, of a daddy with […]
[…] I’ve said it before, and I’ll say it again. If you can, you should have your camera set to photograph using the RAW file format rather than JPG. RAW files contain, quite literally, all the raw data collected by the camera for that photo. JPGs are processed, ‘lossy’, compressed files. The processing and compression means some of the initial data is lost. You have less to work with than RAW files. […]
[…] MP 1/2.33-inch sensor. My Fujfilm camera has a 24 MP APS-C sensor. Just going on pixel count alone, you’d think they should fare quite equally in low light. However, when you compare the sizes of the two sensors, it becomes obvious that the pixels on my […]
[…] I did two workshops in which I talked about both the photography I’d done – including techniques I use such as focus stacking and repairing damaged papyri in Photoshop – and how to handle your camera better in low light situations (an expansion of the blog post I published in June 2017). […]
[…] I’ve said it before, and I’ll say it again. If you can, you should have your camera set to photograph using the RAW file format rather than JPG. RAW files contain, quite literally, all the raw data collected by the camera for that photo. JPGs are processed, ‘lossy’, compressed files. The processing and compression means some of the initial data is lost. You have less to work with than RAW files. […]
[…] you struggle getting photos in museum galleries, don’t forget to have a read of my photography tips and tricks before you […]
[…] on down with my camera. I got a fantastic set of photos from my visit, including the ones I used in my post on improving your museum photography. My favourite photo from the morning, however, was one of my documentary photos, of a daddy with […]
[…] I did two workshops in which I talked about both the photography I’d done – including techniques I use such as focus stacking and repairing damaged papyri in Photoshop – and how to handle your camera better in low light situations (an expansion of the blog post I published earlier this year). […]
Good article – for processing, Google has a free app called GIMP that basically does everything photoshop does.
Hi Geoff, although GIMP doesn’t quite have all the features of Photoshop (having to convert my RAW files before being able to work on them is a bit of a deal breaker, for instance), it is easily a good enough alternative to Photoshop for everyday photo editing (and, as you say, completely free!). Thanks for the tip 🙂
Even on a hot day, I wear a dark overcoat. Have a friend spread it out at just the right place behind you, or form a tent over the glass to shoot through, to eliminate reflections. Take the time to look, from the same angle as the camera, but without the camera. Look for the reflections, not the object. Find out where your problems might occur. Too often we can be caught up in the magic of the object, our brains automatically erase the extraneous reflections, and we think we have that fabulous shot. Later, at home, those strip lights,… Read more »
Thanks for the extra tips, Tim! 🙂
Great photographs!
Thanks! 🙂
Thanks Julia!!!
You’re welcome, Étienne 🙂
Fab article Julia – really interesting read and beautiful photographs! I’ve definitely picked up some tips for my next museum visit!
Aw, thanks Beth. I’d love to see some of your pics, too 🙂